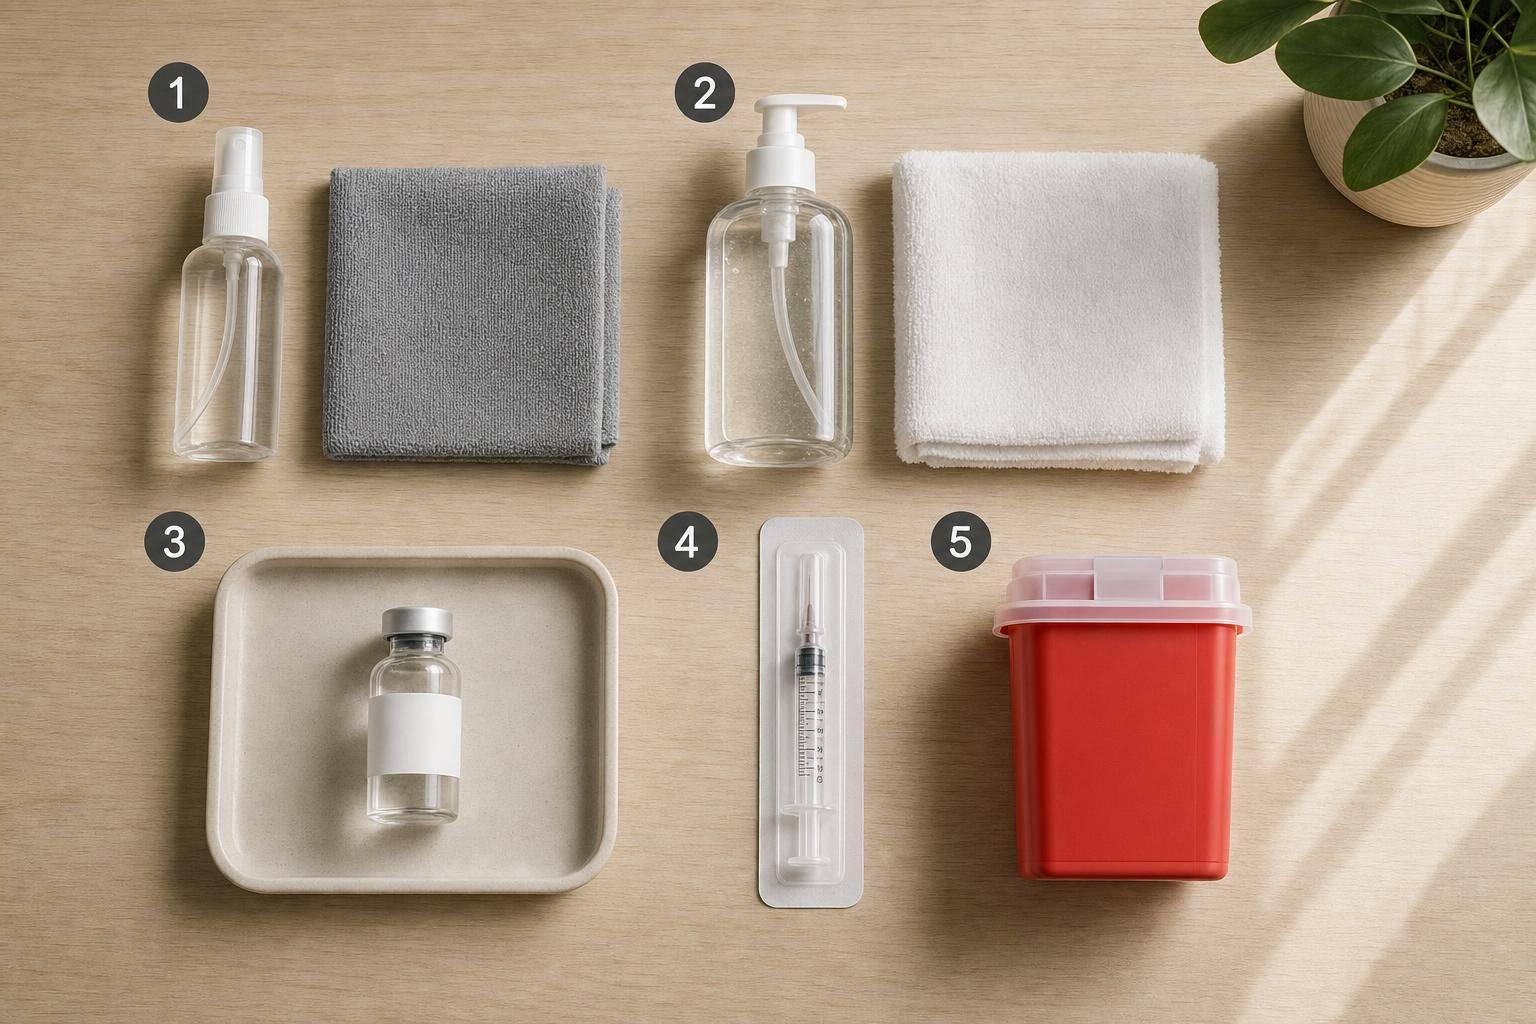
One missed check can lead to contamination, a wrong dose, or a needlestick. I’d use this checklist before every at-home peptide injection: clean the surface, wash and dry my hands, confirm the vial, match the syringe and needle, and keep a sharps container within reach.
Here’s the short version:
- Clean the workspace first. Use a flat, dry, well-lit surface and wipe it with household disinfectant or 70% alcohol. Let it air-dry.
- Wash hands for at least 20 seconds. Dry with a single-use paper towel before touching sterile items.
- Check the medication. Make sure the name, strength, dose, expiration date, and storage history match the prescription. Many reconstituted peptides are stored at 36–46°F (2–8°C).
- Inspect supplies. Use only sealed, sterile, single-use, unexpired syringes and needles that match the prescribed size.
- Place the sharps container nearby. Keep it upright and no more than three-quarters full.
A few details matter more than people think. Fabric surfaces like beds and couches can carry dust and fibers. A cracked vial, cloudy liquid, bent needle, or broken seal means stop and do not use it. And after the injection, the needle should go straight into the sharps container without recapping.
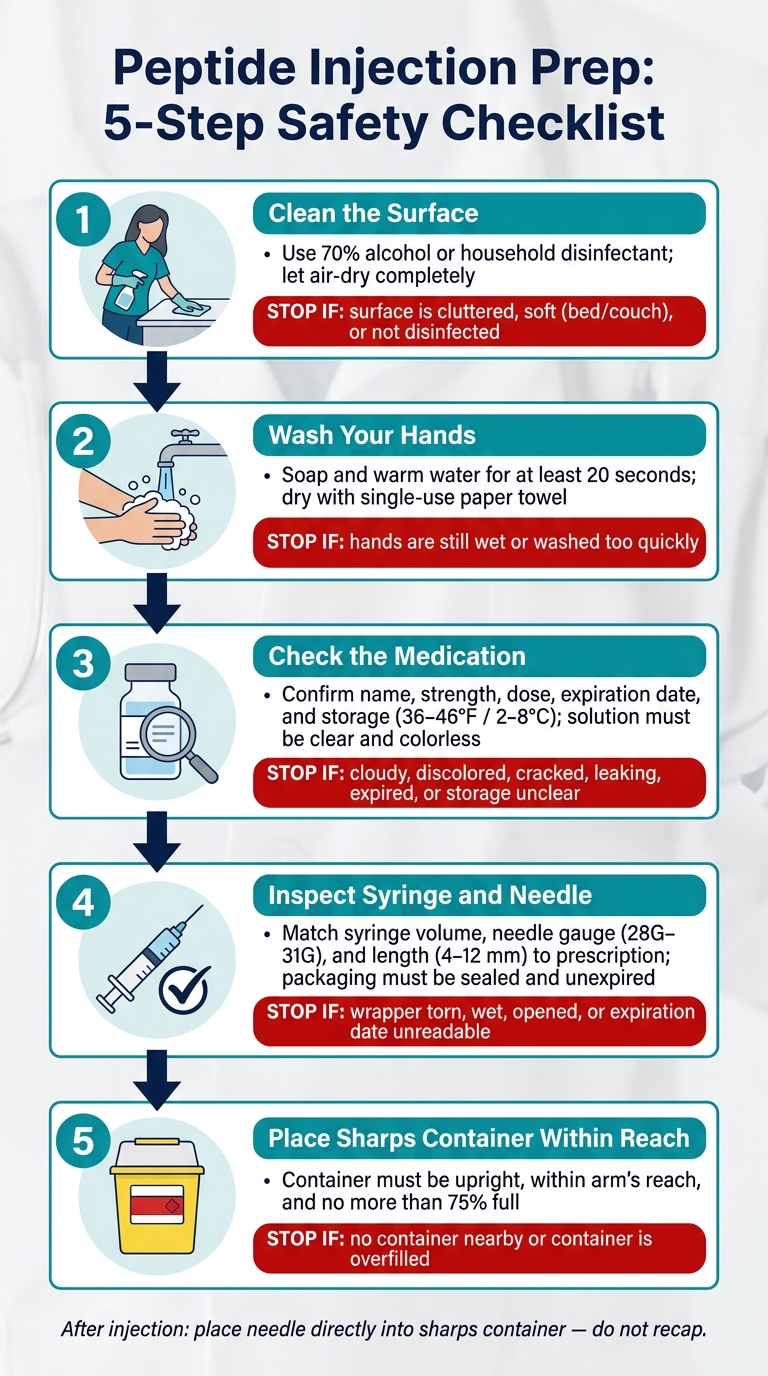
Peptide Injection Prep: 5-Step Safety Checklist
Peptide Injections: The Complete Step-By-Step Guide (Doctor-Led, Start to Finish)
sbb-itb-7164bd9
Quick Comparison
| Check | What I confirm | Stop if... |
|---|---|---|
| Surface | Flat, clean, dry, well lit | Surface is cluttered, soft, or not disinfected |
| Hands | Washed with soap and water for 20 seconds and fully dry | Hands are still wet or washed too fast |
| Medication | Correct label, clear solution, not expired, stored as directed | Cloudy, leaking, cracked, expired, or storage is unclear |
| Syringe and needle | Right volume, gauge, and length; package sealed and unexpired | Wrapper is torn, wet, opened, or date is unreadable |
| Sharps container | Within arm’s reach, upright, under 75% full | No sharps disposal nearby or container is overfilled |
This article is a simple pre-injection handout for adults in the U.S. who self-inject prescribed peptides at home under clinician guidance.
Step 1: Set Up a Clean, Dry, Well-Lit Surface
Pick a flat, stable, clean, dry, well-lit surface. Good options include a cleared bathroom counter, a kitchen counter away from food prep, or a sturdy table.
Clean the surface with a household disinfectant or 70% alcohol, then let it air-dry all the way before you place anything on it. Don’t dry it with a cloth or blow on it. If the surface gets contaminated during setup, clean it again before moving on.
Recommended vs. Unsuitable Injection Surfaces
Use one of these surfaces:
| Surface | Stability | Contamination Risk | Recommended? |
|---|---|---|---|
| Cleared bathroom counter | High | Low (if disinfected) | ✅ Yes |
| Kitchen counter away from food prep | High | Low (if disinfected) | ✅ Yes |
| Sturdy table | High | Low (if cleared of clutter) | ✅ Yes |
| Bed or couch | Low | High (fabric fibers, dust) | ❌ No |
| Cluttered desk | Low | High (cross-contamination) | ❌ No |
| Kitchen counter near food prep | High | High (food contamination risk) | ❌ No |
Arrange Supplies in the Order You Will Use Them
Once the surface is dry, set out everything you need before you begin. Put each item down in the order you’ll use it: alcohol swabs, medication vial, syringe, needle, gauze, bandage, and sharps container.
That small step makes the whole process smoother. It also helps you avoid leaving the workspace halfway through prep.
Next, wash your hands and check the medication label, expiration date, and storage conditions.
Step 2: Wash Hands and Check Your Medication
You’ve got your workspace ready and your supplies lined up. Now comes the part you can’t cut corners on: wash your hands well and double-check the medication before touching anything sterile.
How to Wash and Dry Hands Before Injecting
Take off any rings, watches, or bracelets if they can hold moisture or get in the way. Then wash your hands with soap and warm water for at least 20 seconds, making sure you clean your palms, the backs of your hands, between your fingers, your thumbs, and under your nails.
Dry your hands with a clean, single-use paper towel. Use that same towel to turn off the faucet.
Your hands need to be fully dry before you open sterile packaging. A few common slip-ups here are:
- rinsing without soap
- washing for too little time
- drying your hands on a shared towel
Check the Label, Expiration Date, and Storage Conditions
Before you draw up the medication, stop for a moment and read the vial label. Check that the medication name, strength, dose, expiration date, and storage history all match your prescription. If the vial was kept outside the stated storage range, or if the beyond-use date isn’t clear, do not use it.
Only use a vial that is clear, colorless, and has an intact seal. Throw away any vial that looks cloudy, discolored, leaking, cracked, or has particles in it.
Next, check your syringe, needle, and sharps container before drawing up the dose.
Step 3: Check Your Syringe, Needle, and Sharps Container
Once you've checked the vial and dried your hands, take a minute to confirm your syringe, needle, and sharps container before you draw up the dose.
Match the Syringe and Needle to Your Prescription
Your clinic's written instructions should list three things: the syringe volume, the needle gauge, and the needle length. Read those details first. Then check the packaging on your supplies and make sure all three match before you open anything.
Common subcutaneous sizes are below, though your prescription may be different.
| Injection type (example) | Common syringe size | Common needle gauge | Typical needle length |
|---|---|---|---|
| Subcutaneous peptide/insulin | 0.3–1.0 mL | 28G–31G | 4–12 mm (5/32–1/2 in) |
After that, inspect the packaging before opening it.
Check Packaging and Sterility Before Use
Each syringe and needle should be single-use, sterile, sealed, and unexpired. The wrapper should be fully intact, with no tears, punctures, wet spots, or signs that it was opened earlier. Check the expiration date printed on the package. If the date has passed, is missing, or can't be read, don't use it.
Once the package is open, look at the needle itself. It should be straight, have no visible damage, and still have an intact protective cap. If the needle is bent, the cap is broken, or anything looks off, put it straight into the sharps container. Don't try to straighten it or fix it.
Keep a Sharps Container Within Arm's Reach
Set up your sharps disposal before you open the needle, not after. Place an FDA-cleared sharps container upright on your work surface, or on another stable surface close enough to reach without getting up.
Before you begin, do a quick three-point check:
- The container is nearby
- The container is upright
- The container is no more than three-quarters full
Once it reaches that fill line, close it, label it, and follow your state or local rules for drop-off or disposal.
After the injection, do not recap the needle. Put the syringe and needle straight into the sharps container.
Conclusion: Five Checks Before Every Injection
Use these same five checks before every injection to cut down on avoidable mistakes. Think of the table below as a simple pre-injection handoff.
| Check | What to confirm |
|---|---|
| 1. Clean surface | Work area is flat, dry, clear, and well lit |
| 2. Dry hands | Hands washed with soap and water for 20 seconds and fully dried |
| 3. Medication label and storage | Correct name and dose, expiration date not passed, stored as directed and solution clear |
| 4. Syringe and needle | Size and type match the prescription, packaging intact, sealed, and unexpired |
| 5. Sharps container | Within arm's reach and not more than three-quarters full |
Just a few minutes of prep can lower the risk of contamination and dosing mistakes. Clinicians should use the same five checks, then tailor them to the patient’s prescribed supplies and disposal instructions.
How Clinicians Can Customize This Checklist for Patients
For patient handouts, only change the details inside each check. That usually means storage temperature, syringe volume, needle gauge and length, preferred injection site, and local sharps disposal instructions.
FAQs
What if I’m not sure the vial was stored correctly?
If you're not sure, put safety first and check the vial before you use it. Hold it up to a light and make sure the liquid looks clear and colorless.
Throw it away right away if you see cloudiness, discoloration, visible particles, clumping, or notice an unusual odor. If anything seems off, it's safest to toss it.
Can I inject if my hands or workspace get contaminated during setup?
No. Don’t continue if your hands or workspace get contaminated during setup.
Stop right away. Clean the area with 70% isopropyl alcohol, then wash your hands with soap and water for at least 20 seconds. If there’s any doubt about the sterility of your supplies or the peptide solution, discard them.
What should I do if I don’t have a sharps container nearby?
If you don’t have an approved sharps container yet, you can use a heavy-duty plastic container for a short time, like an empty laundry detergent bottle with a tight, secure lid, if local rules allow it.
Only fill the container to 75% full. After that, take it to a pharmacy or medical facility for proper disposal.
A few things matter here:
- Never throw needles or syringes in the regular trash
- Never put them in recycling
- Never recap the needle
This helps lower the risk of needle sticks and keeps other people safer.